Detroit Red Stripe Pizza
Back to recipes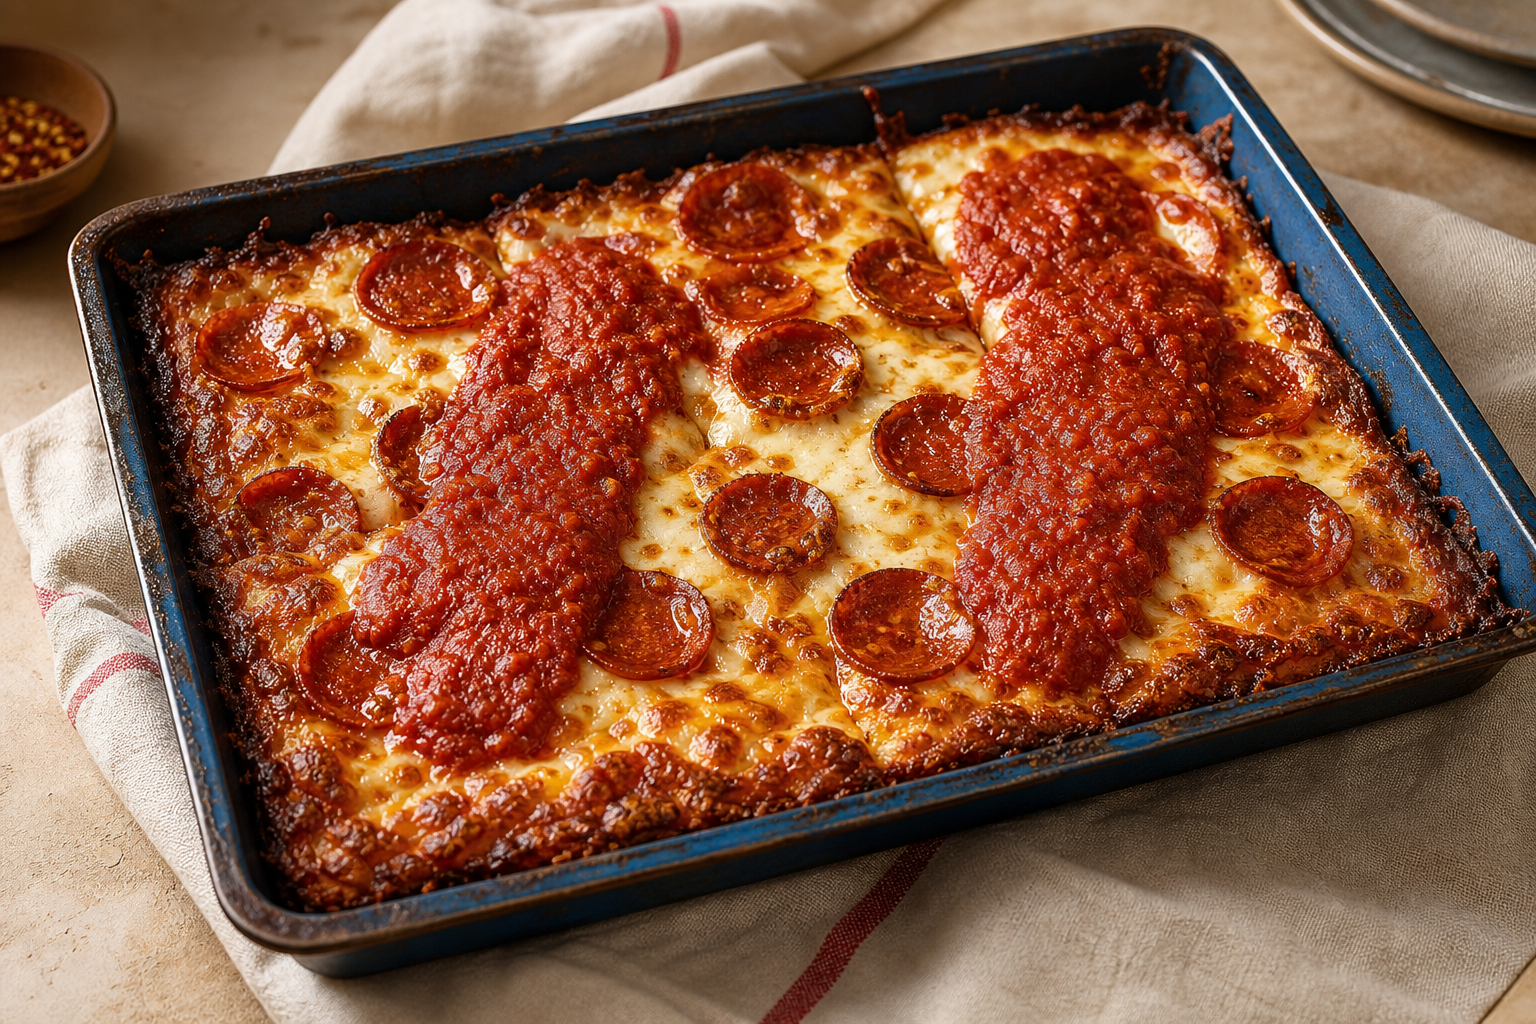 Pin
Pin
Detroit Red Stripe Pizza
Country
![]() United States
United States
Region
Campania
Style
New York
Difficulty
Intermediate
Published
June 13, 2026
Timing
Prep
35 min
Cook
18 min
Rest
6 hr
Total
6 hr 53 min
Story
asdcasdcasdcdcasd

Save This Recipe
Sa mi sugi pula
nu sugem pula
Ingredients
Makes 1 pizza
4 servings, 1 quarter pan each
Dough
A soft pan dough that proofs directly in the oiled pan.
.png)
Bread flour
400 g
this should be a high quality sa mi sugi pula
Water
300 ml
Fine sea salt
10 g
Instant yeast
3 g
Olive oil
25 ml
Toppings
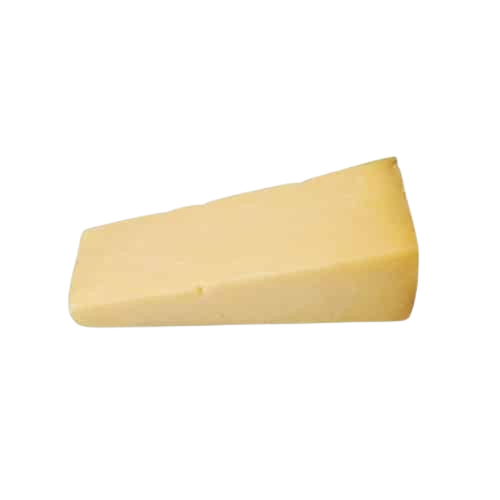
Brick-style cheese
280 g
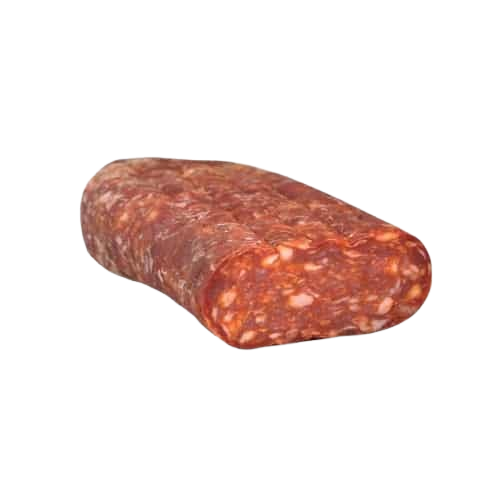
Pepperoni
90 g
Thick tomato sauce
220 g
Method
1 Dough
4 dough balls, about 250-260 g each, with 18-24 hours total fermentation.
Dough
4 dough balls, about 250-260 g each, with 18-24 hours total fermentation.
- 1.1
Measure the water
Pour the required amount of cool water into a large mixing bowl. The water should be cool, not warm, especially if the dough will ferment for many hours.
-
.png)
Water temperature matters
Cool water slows fermentation and gives the dough more time to develop flavor. Warm water can make the yeast work too quickly and may cause the dough to overproof.
-
.png)
Water measurement visual
Use this image as a visual reference for the water measuring stage before adding salt, flour, or yeast.
-
- 1.2
Dissolve the salt
Add the salt to the water and stir until fully dissolved. This helps the salt distribute evenly throughout the dough.
-
Do not add yeast directly onto salt
Salt can slow or damage yeast if they are placed together in a concentrated form. Dissolving the salt first helps spread it evenly through the water.
-
- 1.3
Add a small portion of flour
Add a small handful of flour to the salted water and mix until the water becomes cloudy and slightly creamy. This creates a buffer before adding the yeast.
-
Look for cloudy water
The mixture does not need to become dough yet. It should look like cloudy, thin batter. This stage helps protect the yeast from direct contact with concentrated salt.
-
- 1.4
Add the yeast
Add the yeast and stir until it is fully dispersed. Use only a small amount of yeast for long Neapolitan-style fermentation.
-
Less yeast, more flavor
Neapolitan dough usually uses very little yeast because the dough ferments slowly. Too much yeast can make the dough rise too fast and taste overly yeasty.
-
- 1.5
Add the remaining flour gradually
Add the flour in stages while mixing by hand or with a spoon. Continue mixing until all dry flour is absorbed and a rough dough forms.
-
The dough will look rough at first
At this stage, the dough may look shaggy, sticky, and uneven. This is normal. It will become smoother after resting and kneading.
-
- 1.6
Rest the dough
Cover the bowl and let the dough rest for 15-20 minutes. This short rest allows the flour to hydrate and makes the dough easier to knead.
-
Resting makes kneading easier
After resting, the dough should feel softer and more elastic. If it felt tight or messy before, it should now be easier to handle.
-
- 1.7
Knead until smooth
Turn the dough onto a clean surface and knead for 8-12 minutes. Use gentle folding and pushing motions until the dough becomes smooth, elastic, and slightly tacky.
-
Smooth, not dry
The dough should not be dry or stiff. A good Neapolitan dough feels soft, smooth, and slightly tacky, but it should not stick heavily to your hands.
-
Windowpane clue
To check gluten development, stretch a small piece of dough. If it stretches thin without tearing immediately, the gluten is developing well.
-
- 1.8
First fermentation
Place the dough back into the bowl or a covered container. Let it ferment until it has relaxed, slightly risen, and feels airy. This can take several hours depending on room temperature and yeast amount.
-
Do not wait for it to triple
Neapolitan dough does not need to rise dramatically during bulk fermentation. Look for a relaxed dough with some volume increase and a few signs of air.
-
Temperature changes timing
A warm kitchen makes the dough ferment faster. A cooler kitchen slows it down. Watch the dough, not only the clock.
-
- 1.9
Divide the dough
Turn the dough onto the counter and divide it into equal portions, usually 250-260 g each for Neapolitan pizzas.
-
Use a scale for even pizzas
Evenly sized dough balls bake more consistently and make it easier to stretch pizzas to the same size.
-
- 1.10
Shape into dough balls
Shape each portion into a tight, smooth ball. Pull the dough edges underneath itself to create surface tension, then gently roll it against the counter.
-
Surface tension is important
A well-shaped dough ball should have a smooth, tight surface. This helps trap gas and makes the dough easier to stretch later.
-
Avoid tearing the top
If the surface starts tearing, stop shaping. Overworking the dough ball can weaken it and make it harder to open later.
-
- 1.11
Final proof
Place the dough balls into a lightly floured proofing box or covered tray. Let them proof until relaxed, airy, and easy to stretch.
-
Ready dough feels puffy
A ready dough ball should feel soft and puffy when touched. It should gently spring back but still leave a slight impression.
-
Overproofing clue
If the dough balls spread too much, feel weak, or collapse when touched, they may be overproofed.
-
- 1.12
Prepare to open the dough
Dust the work surface with flour. Carefully lift one dough ball from the tray and place it top-side up on the floured surface.
-
Handle gently
The dough contains trapped gas from fermentation. Rough handling can push out too much air and reduce the airy crust.
-
- 1.13
Press from the center outward
Use your fingertips to press the dough from the center outward, leaving the outer edge untouched. This keeps gas in the rim and helps form the cornicione.
-
Protect the rim
Do not press down on the outer edge. The rim holds the air that creates the classic puffy Neapolitan crust.
-
- 1.14
Stretch the dough
Lift and gently stretch the dough using your hands. Rotate it as you stretch until it reaches about 10-12 inches wide. Keep the center thin and the rim slightly thicker.
-
Do not use a rolling pin
A rolling pin pushes out the gas from the dough and flattens the rim. Hand-stretching keeps the crust light and airy.
-
Thin center, puffy edge
The center should be thin enough to bake quickly, while the edge should stay airy and raised.
-
2 Toppings
Move the opened dough to the peel and top it lightly.
Toppings
Move the opened dough to the peel and top it lightly.
- 2.1
Add toppings
Move the stretched dough onto a lightly floured peel. Add sauce, cheese, and toppings sparingly. Neapolitan pizza should be lightly topped so it bakes quickly and evenly.
-
Less is better
Too much sauce or cheese can make the center wet and heavy. Keep toppings balanced and light.
-
3 Baking
Bake the pizza hot and fast until the crust is puffed and spotted.
Baking
Bake the pizza hot and fast until the crust is puffed and spotted.
- 3.1
Bake hot and fast
Bake the pizza in the hottest oven possible. In a wood-fired or high-temperature pizza oven, bake around 430-480 C for 60-90 seconds. In a home oven, use a preheated pizza stone or steel at the highest setting.
-
Rotate during baking
In very hot ovens, rotate the pizza so the crust colors evenly and does not burn on one side.
-
Look for leopard spots
A properly baked Neapolitan crust often has small charred spots called leopard spotting. The crust should be puffed, airy, and lightly crisp outside.
-
4 Rest
Let the pizza settle briefly before serving.
Rest
Let the pizza settle briefly before serving.
- 4.1
Rest briefly and serve
Remove the pizza from the oven and let it rest for 30-60 seconds before slicing or serving. This allows the cheese and sauce to settle slightly.
-
The final texture
The crust should be soft, airy, and foldable, with a light crispness on the outside. The center should be tender but not soupy.
-
Troubleshooting
The dough will not stretch to the corners
Let the dough rest in the oiled pan for another 15-20 minutes, then stretch it again with lightly oiled fingertips. Detroit dough often needs two or three short stretching rounds before it relaxes enough to reach the corners without tearing.
The cheese edge is not getting crispy
Push the cheese all the way against the pan walls and bake on a lower rack so the metal pan gets more direct heat. A light-colored pan may need a few extra minutes compared with a dark steel pan.
The bottom is pale or soft
Preheat the oven longer, use a dark metal pan, and place the pan closer to the bottom heat source. If the top is done before the bottom, move the baked pizza onto the stovetop in the pan for one or two minutes over medium-low heat.
Equipment
dcasdcasdcasdc

Rectangular metal pan
A dark metal pan produces the crispiest cheese edge.
Kitchen scale
Precision measuring ensures consistent results every bake.
Large mixing bowl
Room enough to mix dough without making a mess.
Home oven
Crank it as high as it goes for the best crust.
Pizza cutter or sharp knife
A clean, fast cut keeps the cheese from dragging.
Detroit-style pizza pan
The blue steel pan with tall sides gives the classic shape.
Bench scraper
Makes dividing and handling sticky dough effortless.
Offset spatula or thin knife
Slides under the pizza cleanly to lift it from the pan.
Cooling rack
Prevents the bottom from steaming and going soggy.
Stand mixer
Saves elbow grease on longer kneads with high-hydration dough.
Instant-read thermometer
Takes the guesswork out of water temperature for dough.
Sheet tray
A flat tray under the pizza pan helps distribute heat evenly.
Nutrition Values
sa mi supua
Calories
780
kcal
Protein
31 g
Carbs
76 g
Fat
38 g
Estimated per 1 quarter pan. Recipe makes 4 servings.
FAQ
Can I use mozzarella instead of brick cheese?
Yes. Use low-moisture mozzarella and push some of it right to the pan edges so it can crisp and brown. Brick cheese gives the most classic Detroit-style edge, but mozzarella still works well.
Why is the sauce added in stripes?
The stripes keep the top from getting too wet while still giving each slice enough tomato flavor. They also help the cheese caramelize against the dough and pan during baking.
Can I make the dough ahead?
Yes. After the first rise, cover the dough and refrigerate it overnight. Let it warm up in the oiled pan before stretching and topping so it can relax and puff properly.